

Upgrading input modules (AI16) on an SC48
10/02/11 17:32 Filed in: Professional Audio
We noticed a slight noise issue with one of the preamps. Quick phone call to Digidesign and within 2 days they had sent over three entirely new AI16 input modules along with instructions on replacement. We set aside a full morning for the job, and started at 9am....
Remove 26 hex screws on the top panel and the top of the board lifts up on a hinge, revealing the brains.
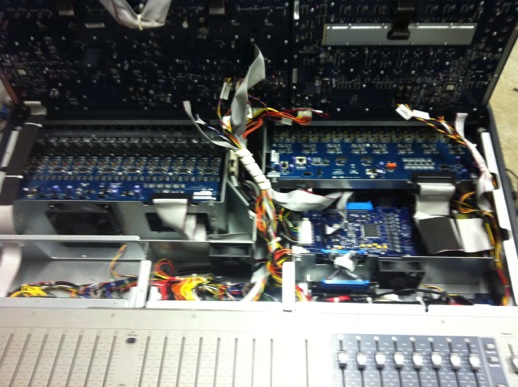
After undoing the ribbon cable harnesses, you undo 2 thumb screws at the rear of the unit and the four screws on the front of the unit at the back of the board. Use a sharpie to mark the number and orientation of each ribbon cable. Time 9:10am...
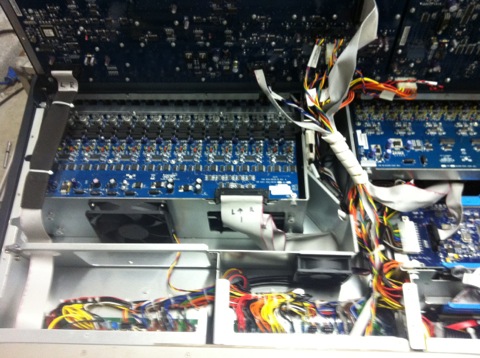
Repeat for the other 2 input modules - a socket set is handy for getting into the hard to reach thumb screws lower down. Time 9:30am....
2 modules already fitted, 9:45am

Last module in, refit ribbon cables, following the marks we'd made with the sharpie earlier...
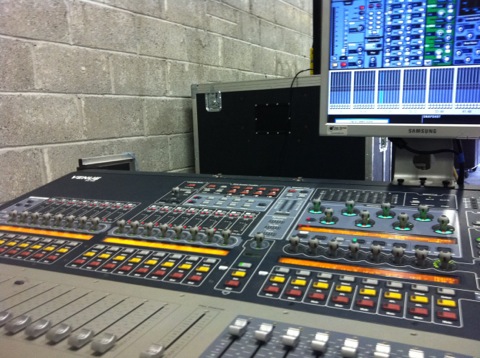
Top and the 26 hex screws replaced. Ready for testing 9:55am....
Remove 26 hex screws on the top panel and the top of the board lifts up on a hinge, revealing the brains.
After undoing the ribbon cable harnesses, you undo 2 thumb screws at the rear of the unit and the four screws on the front of the unit at the back of the board. Use a sharpie to mark the number and orientation of each ribbon cable. Time 9:10am...
Repeat for the other 2 input modules - a socket set is handy for getting into the hard to reach thumb screws lower down. Time 9:30am....
2 modules already fitted, 9:45am
Last module in, refit ribbon cables, following the marks we'd made with the sharpie earlier...
Top and the 26 hex screws replaced. Ready for testing 9:55am....
0 Comments